ELYSAS MUSE PRIME 135 mm Macro: Planning a 1:1 Cinema Shot
The published 1:1 focus range and T2.8 maximum transmission invite a practical question: how should a crew verify working distance, exposure, framing change and rig clearance before a macro shoot? This technical guide separates ELYSAS specifications from measurements that still require a lens test.
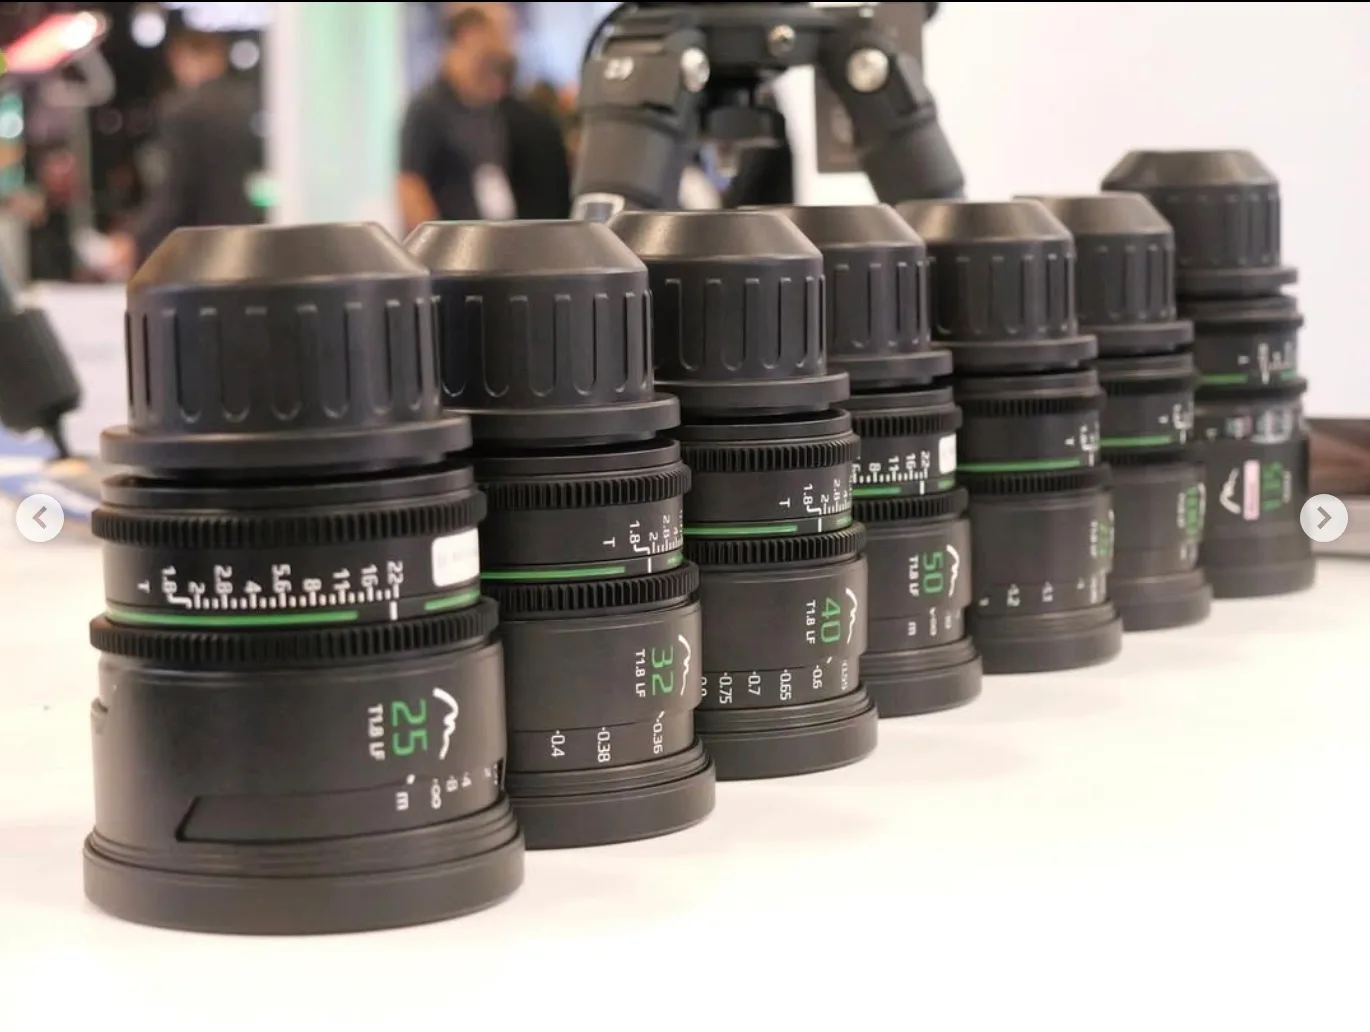
Previously supplied author photograph; illustrative only. Capture settings for image examples were not supplied, and this is not an independent lens test.
GLOBAL IMAGING BRIEF
Why it matters
For cinematographers and rental teams, the decision is not simply whether the 135 mm reaches life size. It is whether the actual camera-and-lens package leaves room for lighting and focus control at the required reproduction ratio. The maker lists a 140 mm minimum object distance from the lens front and two focus-breathing ranges; clearance with accessories and the framing path through a pull still need testing.
Full perspective
A macro shot is often specified by its final image scale, yet the production problem begins outside the frame. The front of the lens must clear the subject, supports and practical lights; the camera must reach its focus position without colliding with the set. A longer focal length can offer more room than a shorter macro design at comparable magnification, but working distance depends on the complete optical design. ELYSAS lists a minimum object distance of 140 mm from the lens front for the 135 mm Macro. That closest-focus figure does not tell the crew the clearance at every chosen magnification or with a matte box attached, so those conditions should still be measured on the actual package.
The manufacturer lists continuous focus from infinity to 1:1 reproduction and a T2.8 maximum transmission for this lens. It also publishes approximately 3% focus breathing from infinity to 0.1× and approximately 17% from 0.1× to 1×. Those figures are useful flags for shot planning, but the public page does not provide a full breathing curve or the measurement protocol behind the percentages. They should not be treated as an independent test or converted into a promise about every focus pull.
01
Define the Working Distance
At 1:1, an object is reproduced at approximately its own physical size on the image plane. This says nothing by itself about the gap between the front element and the object. For a tabletop product, that gap determines whether a flag, bounce card, probe lens accessory or moving prop can be placed without entering the image or striking the barrel. Record the front-element-to-subject clearance at the intended magnification, and repeat the measurement with any filter, matte box or protective front attached.
A longer working distance can simplify lighting access, although it may also require the camera to stand farther back and alter the background perspective at matched framing. The trade cannot be settled from focal length or a promotional still. Compare the 135 mm against the alternative lens on the same camera, at the same subject scale, while marking camera position and available light angles. The result is a project-specific setup decision, not a universal ranking of macro lenses.
02
Budget Exposure and Depth Together
T2.8 is a transmission rating, not a promise that close-focus exposure will match an infinity-focus chart without adjustment. Compared with a T1.8 lens at the same shutter and sensitivity, it transmits less light at maximum opening; the difference is a little more than one stop. In macro work, usable depth of field may be the tighter constraint, and the crew may choose to stop down further. Set the intended frame rate, shutter, camera sensitivity and reproduction ratio first, then meter the subject at the working aperture.
Do not confuse a larger diffuser with more exposure: diffusion usually trades output for softness. If additional light is needed, adjust source output, placement, camera settings or the aperture according to the scene's motion and depth requirements. Reflective objects add another constraint because the lens, flags and crew can appear in the surface. A lighting test should therefore judge exposure, highlight shape, glare and physical clearance in one pass, using the actual prop finish rather than a generic chart alone.
03
Read the Breathing Figures Carefully
The maker's approximately 3% and 17% values refer to different portions of the focus range. They do not specify how the apparent field of view changes at each intermediate mark, nor whether a particular scene will show a visible jump. During macro focusing, the subject's intentional magnification change is also large; that must not be mistaken for breathing alone. A useful preproduction test keeps the camera locked, places reference features at known positions in the scene and records focus travel through the planned shot range.
A slower pull does not reduce the total optical change; it only changes how the audience perceives that change over time. If framing continuity is critical, review the moving footage at delivery resolution and decide whether to shorten the pull, shift the camera, alter the edit or accept a modest crop. Post-production stabilization is not a free remedy: it can consume image area and may not match changing foreground and background relationships. The published percentages are a reason to test, not a ready-made correction recipe.
04
Check Image Field and Rig Geometry
ELYSAS publishes a 46.5 mm design image-circle standard for MUSE PRIME. Coverage should still be checked in the camera's actual recording mode, especially when a close subject approaches the frame edge. Examine sharpness, illumination and out-of-focus highlights at the working aperture; the public figure alone does not establish corner quality at 1:1. A lens test should use the planned sensor mode and any stabilization crop, not only the camera's nominal format label.
The maker lists a 114 mm lens length, a 95 mm front diameter, an 86 mm filter thread and 0.8 MOD focus and iris gears. These dimensions help prepare the matte box and follow-focus, but length is not mass and cannot establish gimbal balance. Check the specific PL or LPL version with the intended camera, motors, filters and support. Confirm motor clearance, focus-gear engagement and front-accessory fit through the full focus travel before committing to a moving-camera macro shot.
05
Build a Repeatable Lens Test
Start with the production camera, recording format and intended subject. At several focus positions, record the camera-to-subject distance, front clearance, reproduction ratio, aperture and frame boundaries. Keep lighting and processing settings fixed for lens-to-lens comparisons, and save original moving files rather than judging a single compressed still. Review a focus pull with both fine texture and distinct foreground or background markers; this reveals whether the framing change matters in the actual shot.
Run a second pass for the physical package: mount the planned motors and matte box, move the focus ring through the useful range and inspect any cable contact or shadow. On reflective products, repeat with the final surface finish and practical light placement. Write down conditions and exceptions so a rental replacement or later shooting day can reproduce the result. This is a proposed test method, not a claim that GLOBAL IMAGING BRIEF has independently measured the lens.
06
Questions for a Rental or Purchase Decision
Ask the supplier for the working distance at the magnification you will actually use, the definition and measurement method behind its breathing figures, and sample footage in the intended camera format. Request the weight of the exact mount version, not a series-wide estimate. Check focus-ring smoothness and gear condition on the unit you will receive, and confirm whether any front accessory changes the usable clearance. These answers matter more than a generic claim that a macro lens is suitable for cinema.
ELYSAS's published product page establishes the MUSE PRIME 135 mm Macro as a lens with continuous infinity-to-1:1 focus and documents its headline mechanical and optical specifications. It does not establish how an individual copy will behave on every camera or set. The practical next step is to request a hands-on test through the official dealer channel, bring the intended subject and camera package, and evaluate the original footage with the team responsible for focus, lighting and post-production.
Original source
Original technical analysis based on ELYSAS's published MUSE PRIME specifications. The breathing figures and design image circle are manufacturer statements, not independent measurements. Working distance and setup-specific results require a lens test. The photograph was previously supplied by the author and is illustrative; its capture settings were not provided.